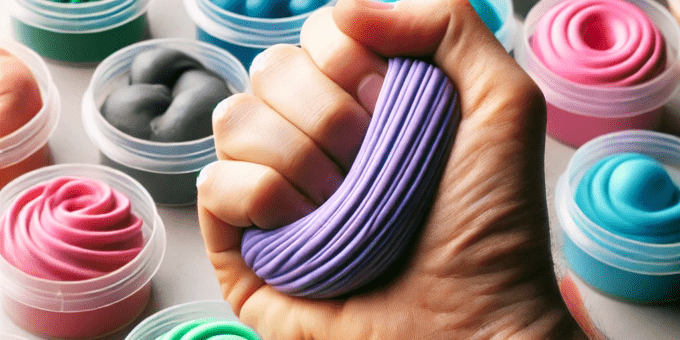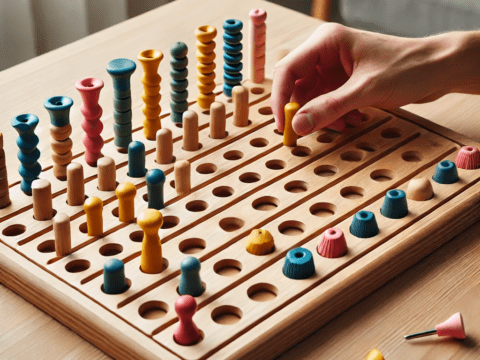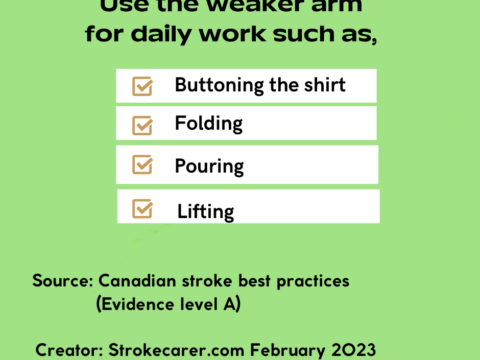
Stroke recovery is a challenging journey that requires patience, persistence, and the right tools to regain lost function. One such tool, often overlooked but highly effective, is therapy putty.
Therapy putty is a simple, moldable material; it can play a crucial role in rebuilding hand strength, coordination, and fine motor skills—abilities that many stroke survivors struggle with after experiencing weakness or paralysis.
Therapy putty provides a fun, engaging, and adaptable way to encourage movement and strengthen the hands and fingers.
Benefits of Therapy Putty for Stroke Recovery
- Improves Grip Strength
Stroke survivors often struggle with a weak grip, making it hard to hold onto objects. Therapy putty exercises, such as squeezing and pinching, help rebuild the muscles in the fingers, hand, and wrist. - Enhances Fine Motor Skills
Fine motor control is essential for daily tasks like using utensils, writing, or fastening buttons. Manipulating therapy putty—rolling it into balls, stretching it, or flattening it—can help improve dexterity and coordination. - Encourages Range of Motion
Stiffness in the fingers and hands is common after a stroke. Therapy putty exercises promote movement in the joints, reducing stiffness and increasing flexibility over time. - Provides Sensory Stimulation
Many stroke survivors experience changes in sensation, including numbness or tingling. The different resistance levels and textures of therapy putty can help stimulate sensory feedback and improve awareness of touch. - Boosts Independence
By strengthening the hands and improving coordination, therapy putty helps stroke survivors regain their ability to perform daily tasks independently. This boost in confidence can have a positive impact on emotional well-being.
How to Use Therapy Putty Effectively
Therapy putty comes in various resistance levels, from soft to firm, allowing for gradual progression. Here are some simple exercises stroke survivors can try:
- Squeeze and Release: Hold the putty in one hand and squeeze it tightly, then slowly release. Repeat 10-15 times.
- Finger Pinches: Pinch the putty between the thumb and each finger individually to build finger strength.
- Rolling and Flattening: Roll the putty into a ball or a snake shape using both hands, then flatten it with the palm.
- Pulling Apart: Stretch the putty by pulling it apart with both hands to work on grip and finger strength.
Therapy putty is an affordable, portable, and effective tool for stroke recovery. It offers a fun and engaging way to rebuild strength, flexibility, and coordination in the hands and fingers. When used consistently alongside other rehabilitation techniques, it can significantly improve a stroke survivor’s ability to perform daily tasks and regain independence.
If you or a loved one is on the path to stroke recovery, consider adding therapy putty to your rehabilitation routine—it’s a small tool that can make a big difference.
Steps to Assess Hand Resistance Level
Assessing a stroke patient’s hand strength is important when choosing the right resistance level of therapy putty. Therapy putty comes in different resistance levels (soft, medium, firm, extra firm), and selecting the appropriate level ensures effective rehabilitation without causing strain.
- Consult a Therapist
If possible, consult an occupational therapist (OT) or physiotherapist. They can assess hand strength professionally and recommend the right resistance level for therapy putty. - Observe Hand Function
- Can the patient grasp and release objects easily?
- Is there stiffness or weakness when holding light items (e.g., a small sponge or a soft ball)?
- Does the patient experience pain or fatigue when using their hand?
- Use a Grip Strength Test
If available, use a hand dynamometer to measure grip strength in pounds or kilograms. Based on the reading, select an appropriate resistance:- Weak grip (<10 lbs / <4.5 kg) → Soft therapy putty
- Mild strength (10-20 lbs / 4.5-9 kg) → Medium therapy putty
- Moderate strength (20-40 lbs / 9-18 kg) → Firm therapy putty
- Strong grip (40+ lbs / 18+ kg) → Extra firm therapy putty
- Perform a Simple Squeeze Test
- Give the patient a soft object (e.g., a kitchen sponge). If they struggle to squeeze it, start with extra soft putty.
- If they can squeeze it easily, try medium resistance putty.
- If they can press a rubber ball with some effort, firm putty may be appropriate.
- Start with a Lower Resistance and Progress
- It’s best to begin with a softer putty and increase resistance as hand strength improves.
- Many therapy putty sets include multiple resistance levels, allowing for gradual progression.
Therapy Putty Resistance Levels
| Color | Resistance Level | Recommended For |
|---|---|---|
| Tan/Yellow | Extra Soft | Very weak hands, early recovery |
| Red | Soft | Mild weakness, initial strength training |
| Green | Medium | Moderate strength, progressing recovery |
| Blue | Firm | Stronger hands, advanced exercises |
| Black | Extra Firm | Maximum strength training |
If in doubt, starting with a therapy putty set with multiple levels allows flexibility to adjust as recovery progresses.


